As we start a new year, I thought it would fun to share a tour of my new and improved craftroom! Late last summer, I was finally able to set up a real home office by converting the front living room of our house. I traded in most of my IKEA furniture for built-ins that were designed to fit the space. It’s a upgrade that I have been saving up for and thinking about for over a decade, and I’m so lucky to have this lovely space.
When I started planning for this room, I had a list of “musts” in mind to make my craftroom easier to use. The top “musts” were:
- Deep storage with doors – The open IKEA Billy bookcases that I used before were only about 11″ deep. Most of the shelving was open and it was a constant battle to keep it looking neat. I also wanted closed storage to protect everything from dust and light.
- Heavy duty drawers – Instead of storing stamp sets in bins, I wanted deep drawers with dividers to store stamps, dies, and foil plates.
- Built-in desk – In addition to my design work, I work from home for my regular job, so I wanted to large open desk space for multiple computers and monitors. I also wanted an area to store my business files and personal mail.
For the style, I wanted built-ins that blended with the look of my home and did not look like kitchen cabinets. I also wanted a layout that would make sense even if the craftroom was converted back into a living room. Here’s a look at the final layout with the built-ins in beige and select office furniture in white.

After using the space awhile and tweaking things here and there, here it is today!

As you can see, I kept my IKEA kitchen island (Tornviken) as the center workspace in the room. It is the perfect height, stores a ton, and can be easily moved. Instead of putting heavy casters on the island, I have it on furniture slides. I was worried about drilling casters into the legs of the island and didn’t want the extra height casters would add. The sliders make it easy to move to the side if I need extra floor space. On top of the island, I keep a lazy Susan with all my must-have tools. The surface is mostly covered with an XL glassboard from Glassboard Studio in white.


In the island, I keep some of my most used items. I thought long and hard about what I use the most, and these items made the cut. These items include: blank cardstock (PTI White, Rustic White), wipes, my Mistis, project boxes (for DT work), paper scraps (filed by color), and card bases. On the open side of the island (where barstools usually go), I put my file cabinets of cardstock and an IKEA cart full of goodies for upcoming releases.

Along the wall behind the island are the built-ins including two tall cabinets flanking a recessed nook with a counter and 6 drawers. The counter area is 24″ deep by 60″ wide which allows room for storing items and working. During the renovation, I got an electrical plug installed in the nook area for all my electrical needs (lamp, Glimmer machine, Empress machine). This counter area is where I do all my die cutting, paper trimming, and foiling.

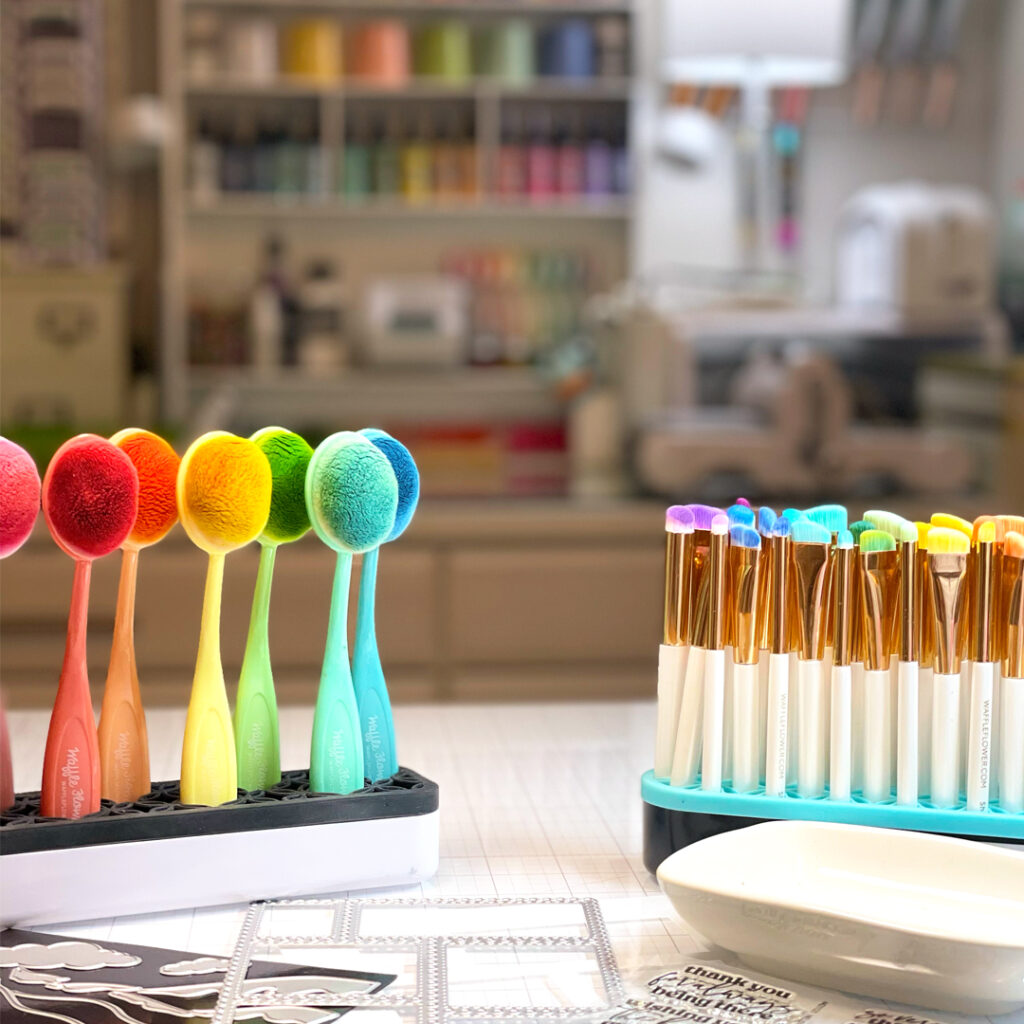
In the nook area, I also keep other well-used items like my Distress Sprays, Sizzix Sidekick, Simon Says Stamp ink pads, and foil rolls. The old shelf from Michaels (shown above) is great for displaying all my favorite rainbow-colored supplies.


Under the nook counter are two shallow drawers and 4 deep drawers. The two shallow drawers have my favorite inks (left drawer) and my die cutting tools and grip mats (right drawer). All of the deep drawers have adjustable dividers for filing storage sleeves filled with stamps, dies, and foil plates. Right now, I file products by category/topic (such as flowers, love, masculine, etc.) not vendor except for my Waffle Flower and Papertrey Ink goodies. I have various subcategories and use plastic file tabs to separate sections.


On each side of the nook area is a tall cabinet with double doors. These built-ins are the cabinets of my dreams! They are a full 24″ deep (compared to the 11″ of the IKEA bookcases) and the lower shelves pull out to make things in the back easier to access. The sliding hardware is sturdy and can accommodate heavy papers and supplies. In the left cabinet, I keep the following items (from top to bottom):
- Craft “appliances” – Minc machine, camera, Cricut iron, etc.
- Craft supplies – Glue gun and sticks, twines/thread, felt, glitters, foam, sprays, foil, powders, sealing wax, etc.
- Craft tools – Magnetic mat, stamping platforms, embossing folders, misc. stencils, paintbrushes, etc.
- Watercolors and paints
- Extra storage supplies – Test tubes, racks, organizing trays, etc.
In the right cabinet, I keep the following items (from top to bottom):
- Envelopes and gift bags
- Cardstock – Extra cardstock storage, specialty cardstock (glitter, metallic, etc.), Yupo, woodgrain paper
- Patterned Paper – Loose and small paper pads
- Ink pad reinkers
- Watercolor and art paper pads
- Various other items that need to lay flat – magnet sheets, acetate, vellum, sticker paper

Since the cabinets are so deep, I can store two rows of items in bins or containers. It’s hard to see, but I have lots of extra space in the back rows. To make sure nothing got lost in all the closed storage, I first decluttered, sorted, and then gathered like items in appropriately-sized bins. When everything was put into the cabinets, I created a simple diagram listing what is on each shelf (have this posted at my desk and on the computer).


Along the front wall, I have some storage items I kept from my previous office. On that wall, I have my IKEA Alex drawers, IKEA Raskog cart, IKEA coffee table cart, and 2 tall drawer units from Michaels. The Alex drawers hold my cutting supplies like mats and rolls of media. I also keep various electronics for my office. On top of the Alex, I have an IKEA hutch that holds items that I like to keep handy (these change from time to time). I also have my collection of pigment ink pads (Amuse, Avery Elle, Mama Elephant) and my test tube racks filled with small items like sequins and gems.


Next to the Alex drawers is a second IKEA cart that keeps my markers, pens, and paints. I usually color sitting down, so the cart is easy to move to the desk or into the dining room if I have crafty friends visiting. To the left of the Alex drawers is the IKEA coffee table (no longer sold) that holds my cutting machines (easy to pull it out to cut). Next to that are the tall drawer units from Michaels. I’m gradually using up what is in these towers and will get rid of them some day. For now, they hold my Distress Oxide and Distress ink pads. I like that I can easily pull out the drawer and bring it wherever I want to use the ink pads.

The last area in the room is the built-in desk area. I spend a lot of time here designing as well as working from home for my regular job as a scientist. I love having room for all my computers, monitors, and printer. Above my desk is extra display and storage on an IKEA peg board.


On the left side of the desk, there is a set of narrow drawers for my crafty stuff. These are the items that I use for detailed work that I do when sitting at the desk. I also keep a variety of supplies such as enamel dots, foam strips, shaker covers, etc. On the right side of the desk is a wider set of drawers for my business and personal paperwork.
We’ve reached the end of the tour but before I go, I wanted to share some lessons I learned over the years about setting up a craftroom:
- Declutter, declutter, declutter – I cannot stress this enough. After almost 15 years of paper crafting, I know myself better and I buy what I use. In the past, I bought tons of stuff that I admired but was just not my style. Before I upgraded my office, I did a deep declutter and donated lots of stuff to those who will actually enjoy them. I still keep a bin in the corner of the room to gather things for giving away.
- Plan before you buy or build – Before a single piece of furniture comes home or one container is purchased, plan out where each item will live and what it will contain. This detailed planning saved me the headache of trying to make my supplies fit into spaces that were too big/too small, too messy, too out of sight, too far from my workspace, etc.
- Be prepared – Take good measurements of your space as well as dimensions of the items you want to store. Keep these measurements handy when you’re shopping so you don’t have to guess if something will fit. On a related note, don’t buy tapered bins (trust me).
- Buy in bulk but only if it matters – If you are worried about items matching, try to buy them at the same time. Sometimes companies (even IKEA) will slightly change a product over time or there may be small differences between production batches. If having an exact match matters to you, don’t wait.
- Leave room to grow – As hard as it is, try to resist the urge to fill every empty space. Extra room allows you to add without feeling overwhelmed or to rearrange when your needs and interests change. Extra room will also allow you to save money if you buy items in bulk.
- Don’t save for a rainy day – I can honestly say that nothing in my craftroom is off limits. It is important to me to have a room that can be used and enjoyed. I don’t hoard or save any supplies that I can use and enjoy today.
- Love your space as is – Don’t expect your craft space to look like the spaces of folks who craft for a living. When the twins were little, we lived in a tiny condo and all my crafting was done out of a plastic tote at the kitchen table. Over time, my craft area has grown and shrunk to accommodate the twists and turns of life (new houses, kids growing up and then going off to college, my dad moving in with us), but each room served its purpose at the time.
Thanks for coming along my craft tour! If you have some tips and tricks from your experiences putting together a craftroom, I’d love it if you left a comment!
Aloha, jj
My Favorite Supplies